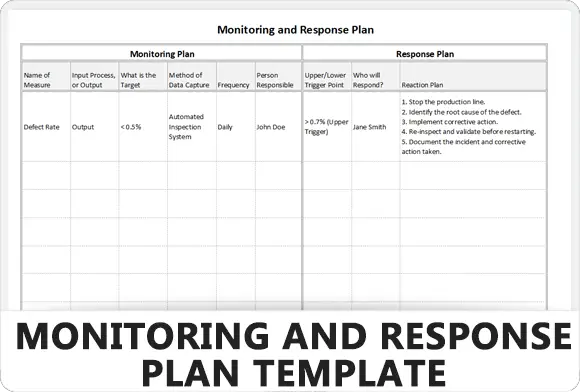
Monitoring and Response Plan Template

The Monitoring and Response Plan template helps track key performance indicators and establishes clear protocols for reacting to deviations, preventing minor issues from escalating into major failures.

★★★★★
4.1 347 reviews
7K + Downloads
Updated February 2026
Template Hero

About this Template

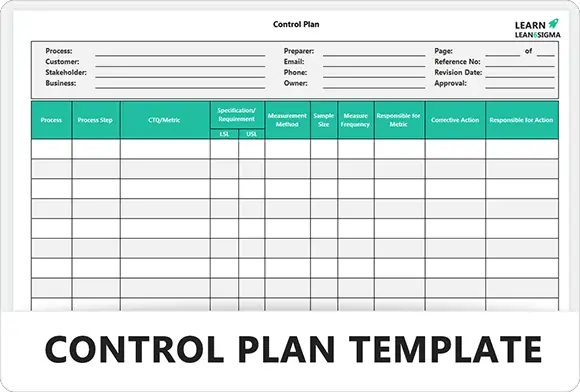
The Monitoring and Response Plan (also known as a Control Plan or OCAP) is the living document that ensures your project gains are sustained over the long term. It moves the team from "Improvement" to "Maintenance."

This template connects your Key Performance Indicators (KPIs) with specific Action Plans. It explicitly defines what to measure, how often to measure it, what the "Trigger Levels" are for failure, and exactly what to do if those triggers are hit.

Use this to hand over the process to the operational owner, ensuring they have a "Instruction Manual" for handling process variation without needing to call the project team back.

Pro Tip: Don't just monitor the output (Y). The best plans monitor the **Critical Inputs (Xs)**. By catching an input drifting out of spec, you can fix it before it creates a defect in the final product.

UCL Avg LCL TRIGGER HIT! Initiate Response Plan

Key Metrics (KPIs)

Clearly defines the "Vital Few" metrics to track. Helps the process owner focus on what truly matters for process health.

Trigger Levels

Sets specific mathematical limits (Upper/Lower Control Limits). Removes ambiguity about when a process is "bad."

Response Protocols

Acts as an "Emergency Checklist." It tells the operator exactly who to call and what steps to take when a trigger is hit.

Sustainment

Prevents the process from sliding back to its old ways. It ensures the improvements made during the project are permanent.

FREE

Join the 28-Day Lean Challenge

Take your skills to the next level. Join 15,000+ practitioners and get exclusive tools delivered to your inbox.

Daily Lessons 5 Bonus Templates PDF Guides
Start the Challenge

No spam. Unsubscribe anytime.

The 6-Step Monitoring Cycle

A closed-loop system to ensure process consistency. It defines exactly what to measure, when to react, and how to fix issues before they become failures.

Step 01

Identify Critical Metrics

Determine the "Vital Few" variables that indicate process health. Focus on Output KPIs (Y) to measure success and Input Variables (X) to predict failure.

Goal:

Select metrics that are measurable, relevant, and timely.

Step 02

Set Control Limits

Define what "Normal" looks like. Establish the Upper Control Limit (UCL) and Lower Control Limit (LCL) based on statistical performance, not just customer specs.

  • UCL/LCL: The voice of the process (3 Sigma).
  • USL/LSL: The voice of the customer (Specs).
UCL LCL
Step 03

Define Measurement Plan

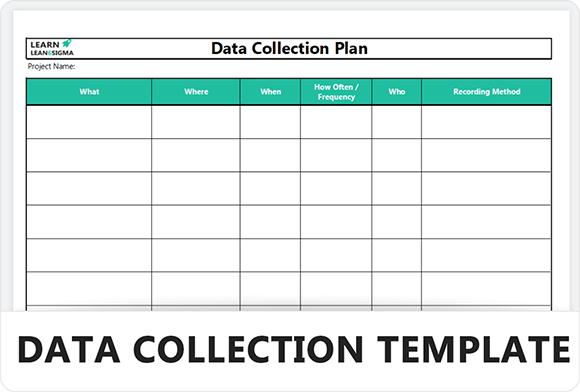
Who measures? How often? With what tool? Standardize the data collection process to ensure reliability. Continuous automated monitoring is ideal, but manual sampling works if disciplined.

Frequency:

e.g., Hourly, Per Batch, Daily Shift Start.

Step 04

Monitor for Triggers

Watch for the "Trigger Event." This occurs when a data point exceeds the Control Limit or a trend (e.g., 7 points in a row going up) indicates instability.

  • Outlier: Point above UCL.
  • Trend: Gradual drift in performance.
Step 05

Execute Action Plan

This is the "OCAP" (Out of Control Action Plan). If a trigger is hit, the operator must follow this pre-defined checklist immediately. No guessing allowed.

Example:

1. Stop Line. 2. Call Supervisor. 3. Segregate last 1 hour of parts.

Step 06

Sustain & Audit

The process owner takes responsibility. Regular audits ensure the measurement system is still valid and the Action Plans are actually being followed.

  • Audit: Quarterly review of Control Plan.
  • Update: Revise triggers if process improves.
Implementation FAQ

Common Questions

What is the difference between UCL/LCL and Spec Limits?

Spec Limits (USL/LSL) are the "Voice of the Customer"—what they are willing to accept.

Control Limits (UCL/LCL) are the "Voice of the Process"—what the process is actually capable of doing. Triggers should be set on Control Limits to detect drift before you produce defects (exceed Specs).
CUSTOMER SPECS PROCESS LIMITS

What happens if a Trigger Level is hit?

You must execute the Action Plan (OCAP) immediately. Do not adjust the machine blindly ("tampering"). Follow the checklist:

1. Stop.
2. Verify measurement.
3. Isolate product.
4. Notify supervisor.
This discipline prevents "fighting fires" without solving the root cause.
EXECUTE PROTOCOL

How often should we measure?

Frequency depends on the process stability and risk.

High Risk / Unstable: Measure 100% or very frequently (e.g., hourly).
Low Risk / Stable: Sample less frequently (e.g., once per shift).

The goal is to catch a drift before it becomes a defect, without overburdening the operator.
Free for Personal Use

Free

Instant Download • No CC Required

Download Excel
Secure SSL 256-bit Encrypted

What's Included

Free Template

Monitoring and Response Plan Template

Download Now

On this page